Iterable Connector Setup Guide
In this article, you will learn how to set up the Iterable connector and export an email from EmailShepherd to Iterable.
📌 Obtain Your Iterable API Key
Before setting up the Iterable connector, you need to obtain an API key from Iterable.
-
Log in to Iterable and navigate to Integrations > API Keys.
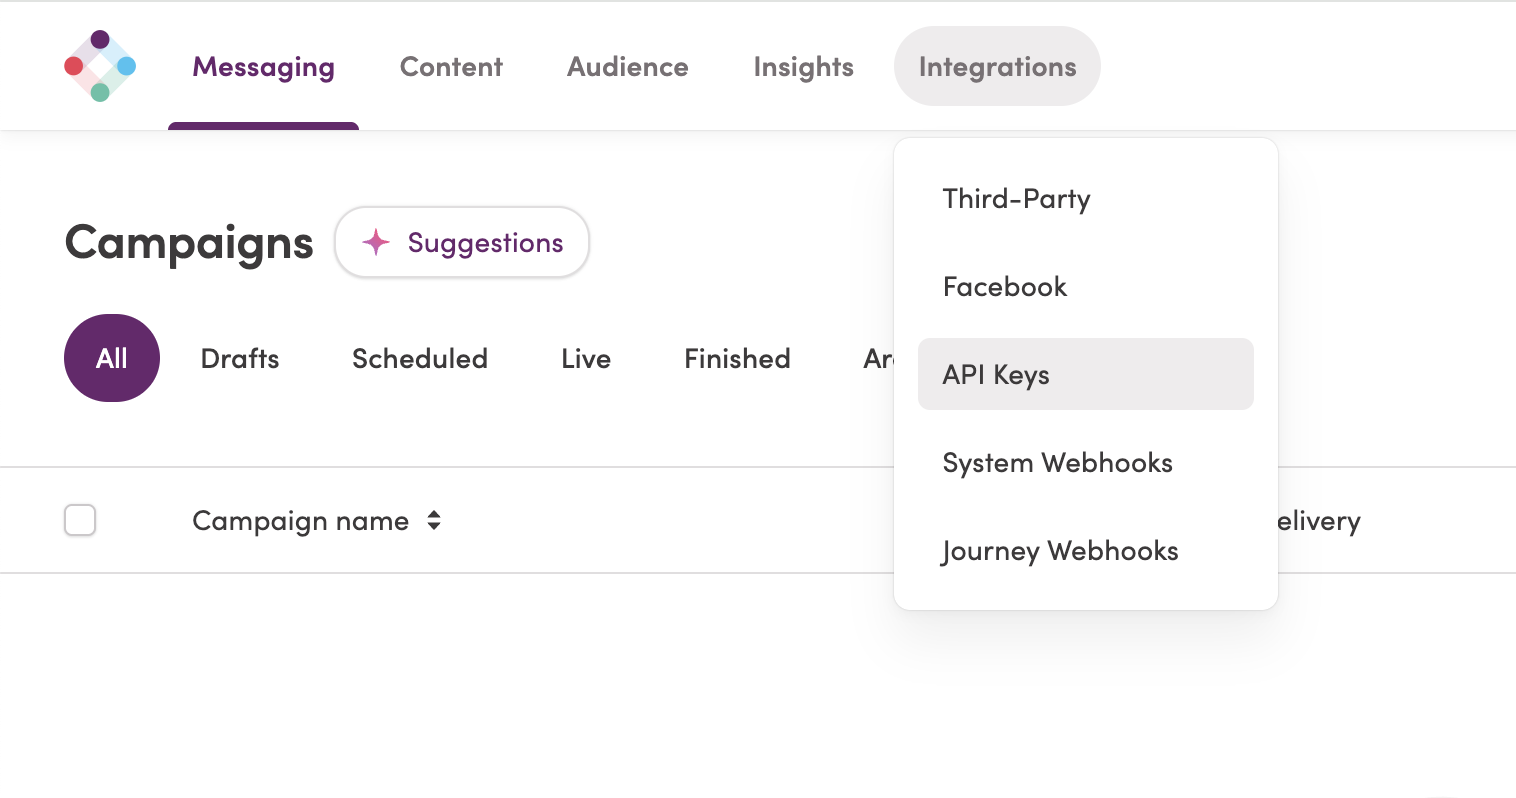
-
Click the New API Key button.
-
In the form:
- Enter a name for your API key.
- For API key type, select Server-side.
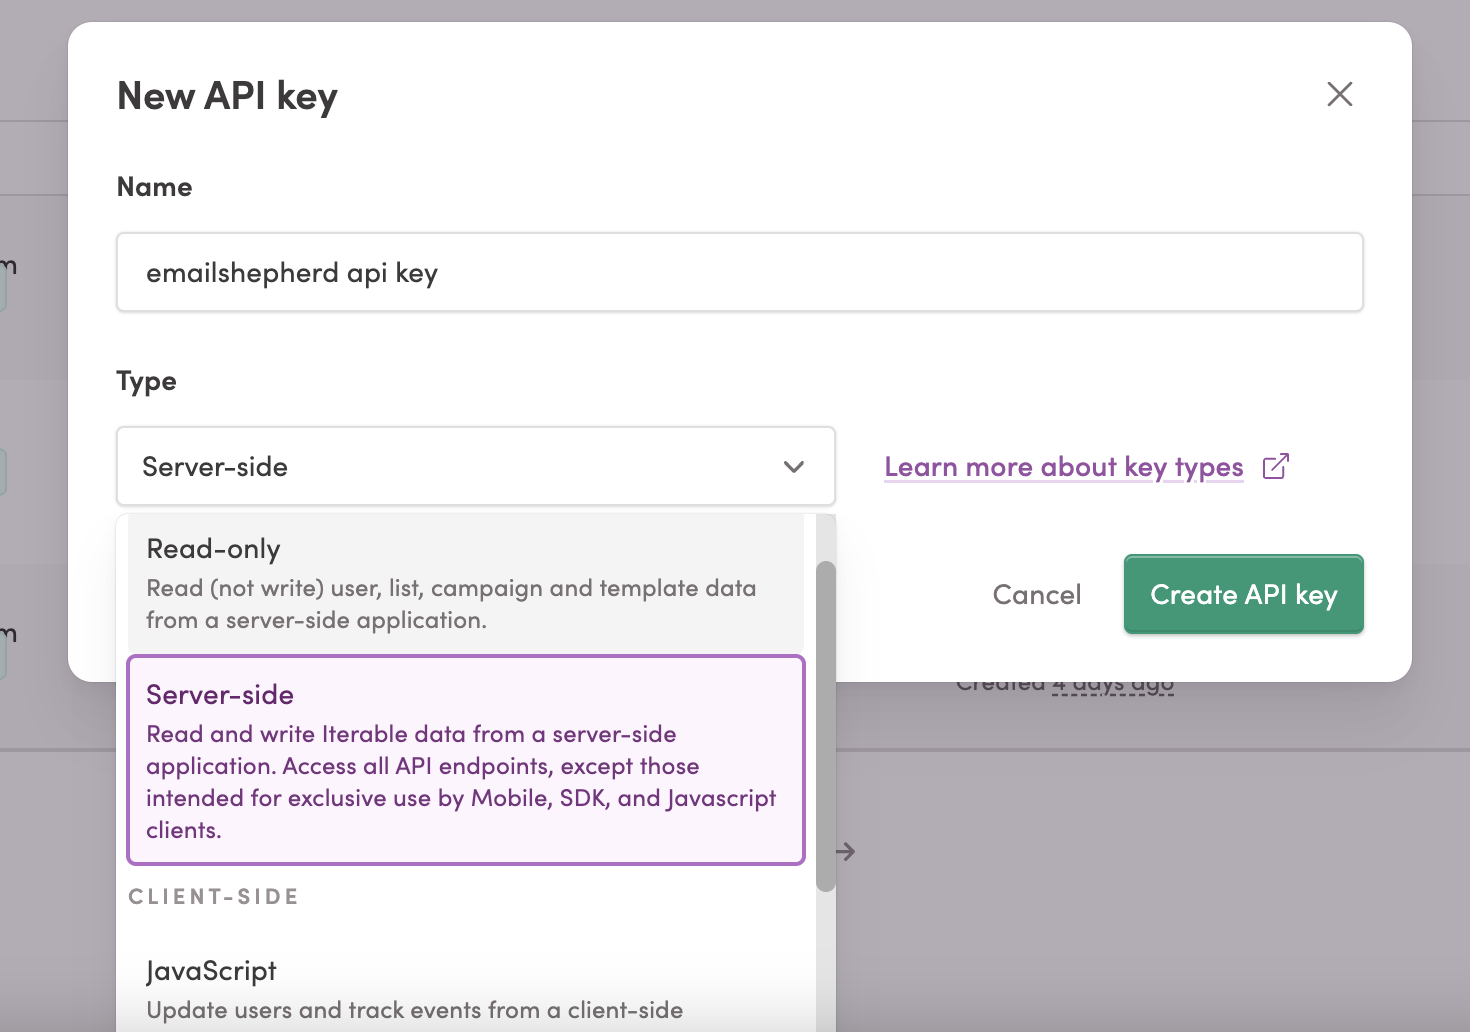
-
Click Create. You will be presented with your API key.
warningSave your API key in a secure location—you’ll need it to set up the Iterable connector in EmailShepherd.
🔗 Setting Up the Iterable Connector
-
In EmailShepherd, navigate to the Connectors page and click Add Connector.
-
Enter a name for your connector and select Iterable as the connector type.
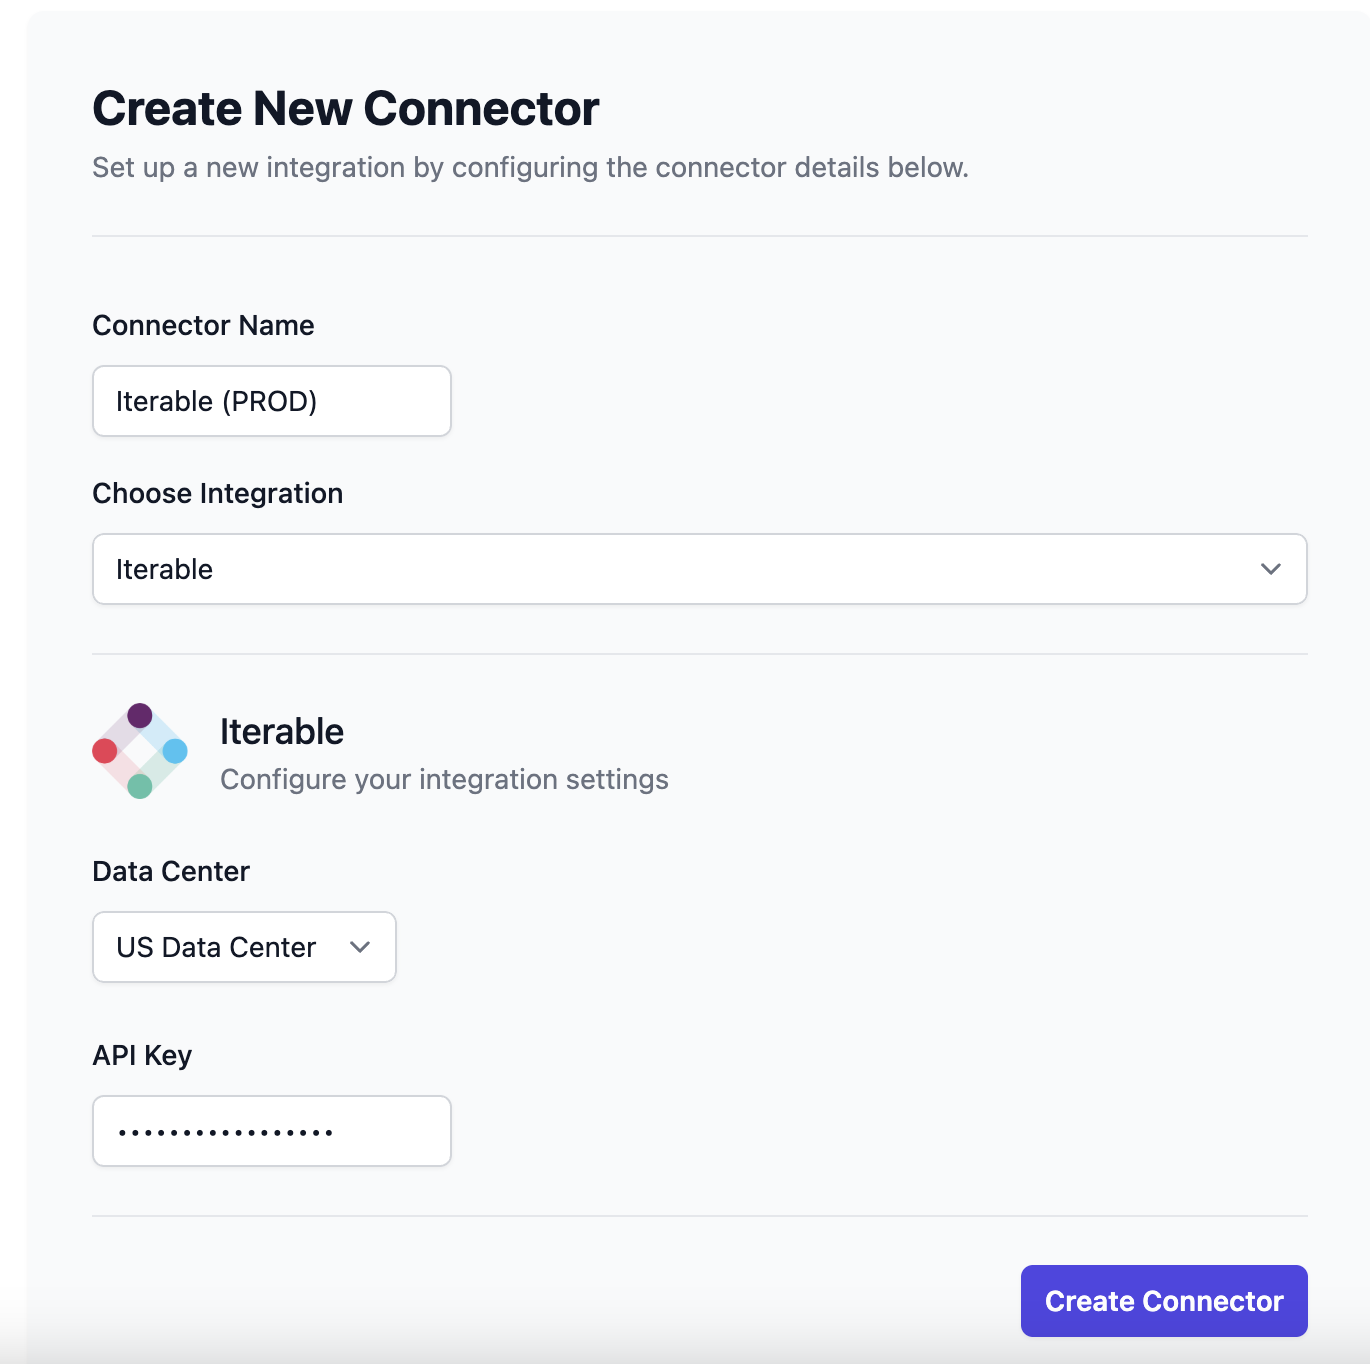
-
Select your Iterable data center.
-
Enter the API key you created in the previous step.
🎨 Iterable Templating Syntax
We recommend creating a Dynamic Content Profile to set up your personalization tags and conditionals for Iterable.
Iterable supports personalization using the Handlebars templating engine. Use this syntax when configuring your Dynamic Content Profile.
📤 Exporting an Email to Iterable
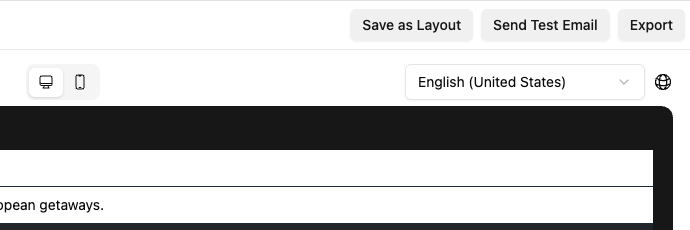
-
In the email editor, click on the Export button in the top-right corner. This will take you to the Export page.
-
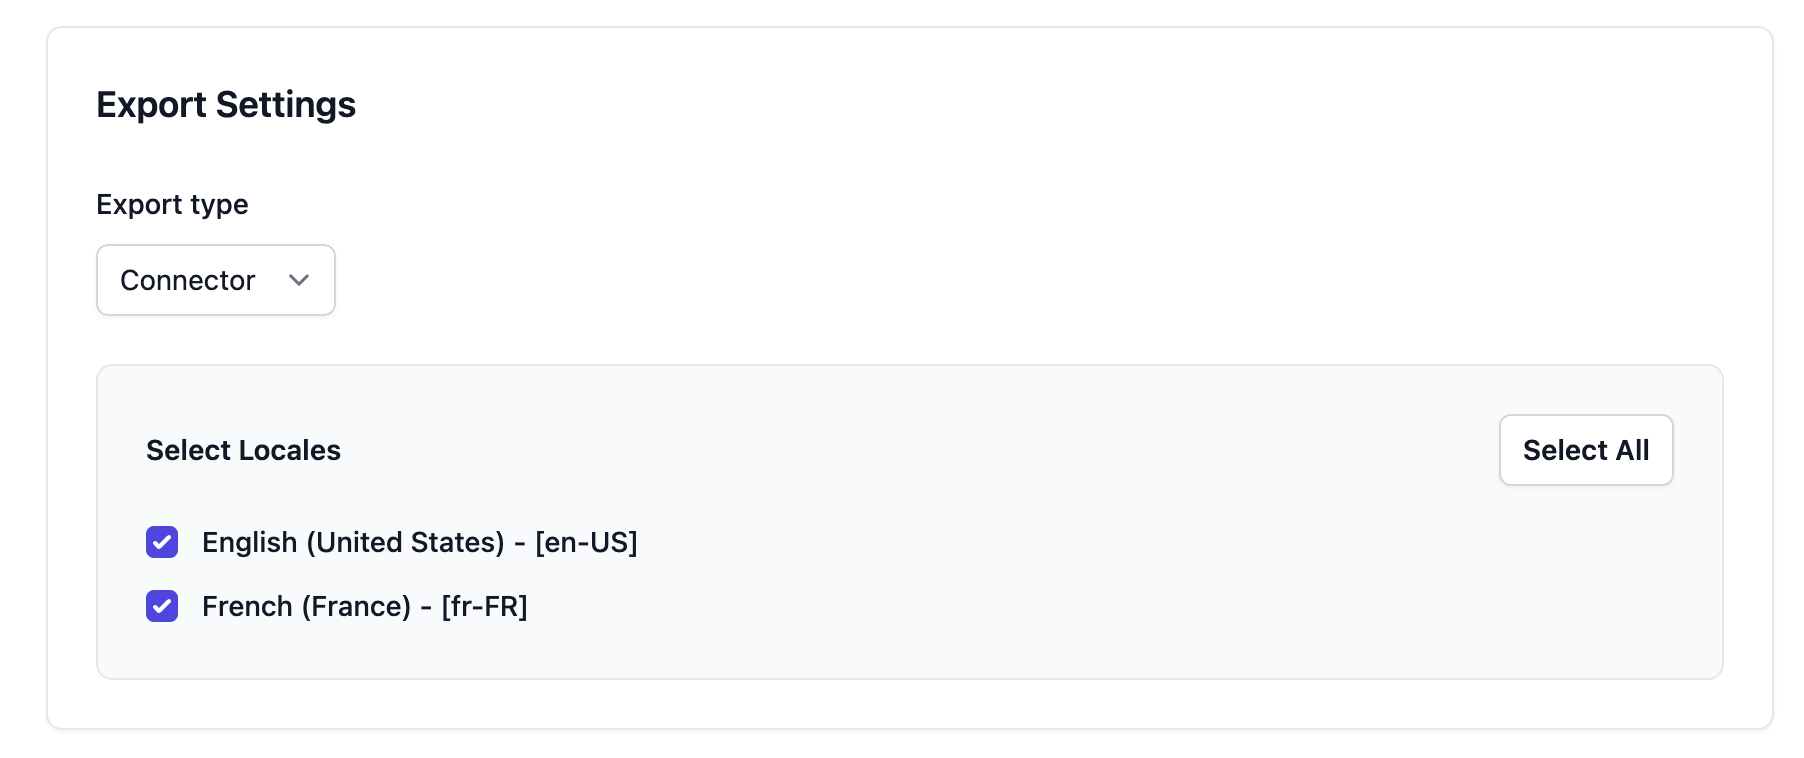
In the Export Settings section:
- Set Export Type to Connector.
- Select the locale(s) you want to export.
-
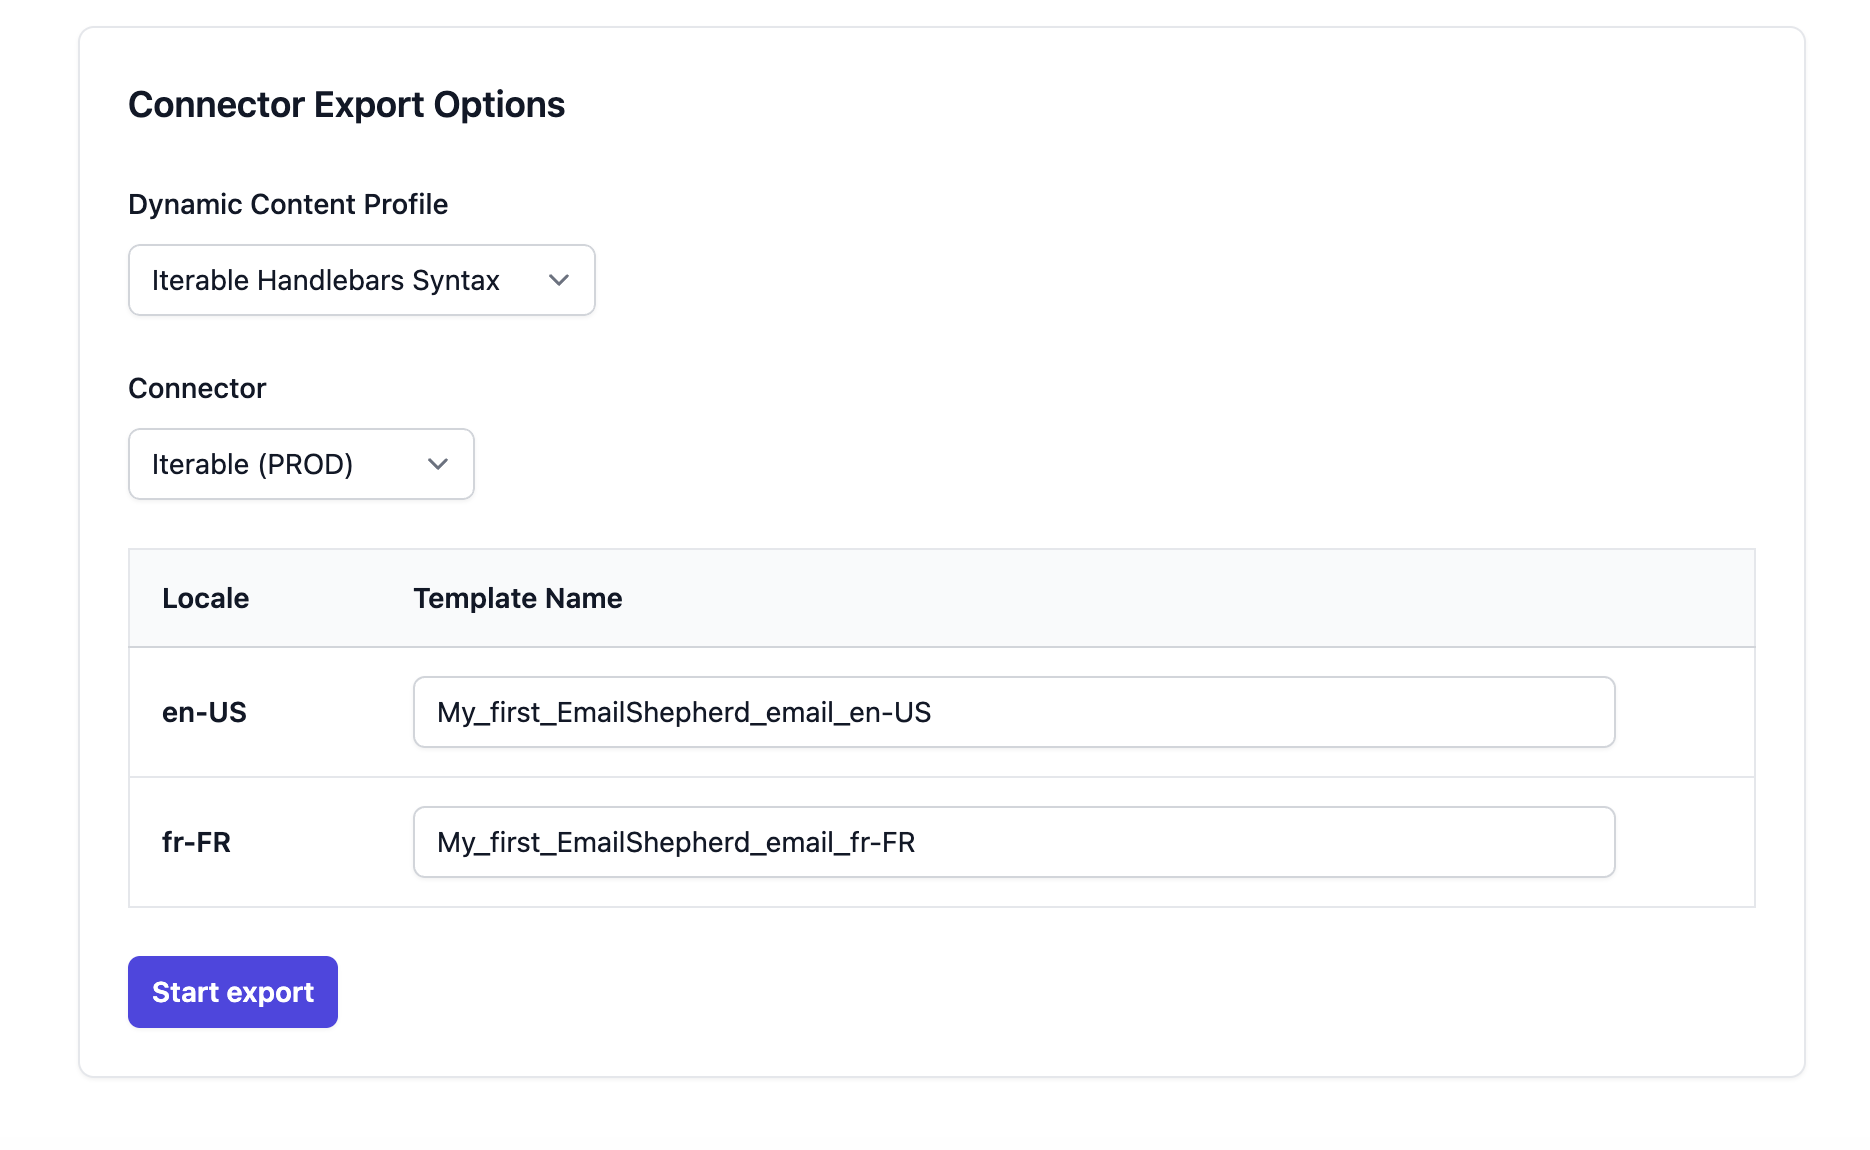
In the Connector Export Options section:
- Select the Dynamic Content Profile you created earlier (if applicable).
- Choose the Iterable connector you set up.
- Enter a Template Name for each locale you’re exporting.
warning
If a template with the same name already exists in Iterable, it will be overridden.
-
Click Start Export.
-
Once the export completes, a link will appear to open the template directly in Iterable.