Creating your first email
Creating a project
The first step to creating an email is to create a project. A project in EmailShepherd is a logical grouping of emails. Only members of the team that owns the project can access the project.
Click on 'New Project'
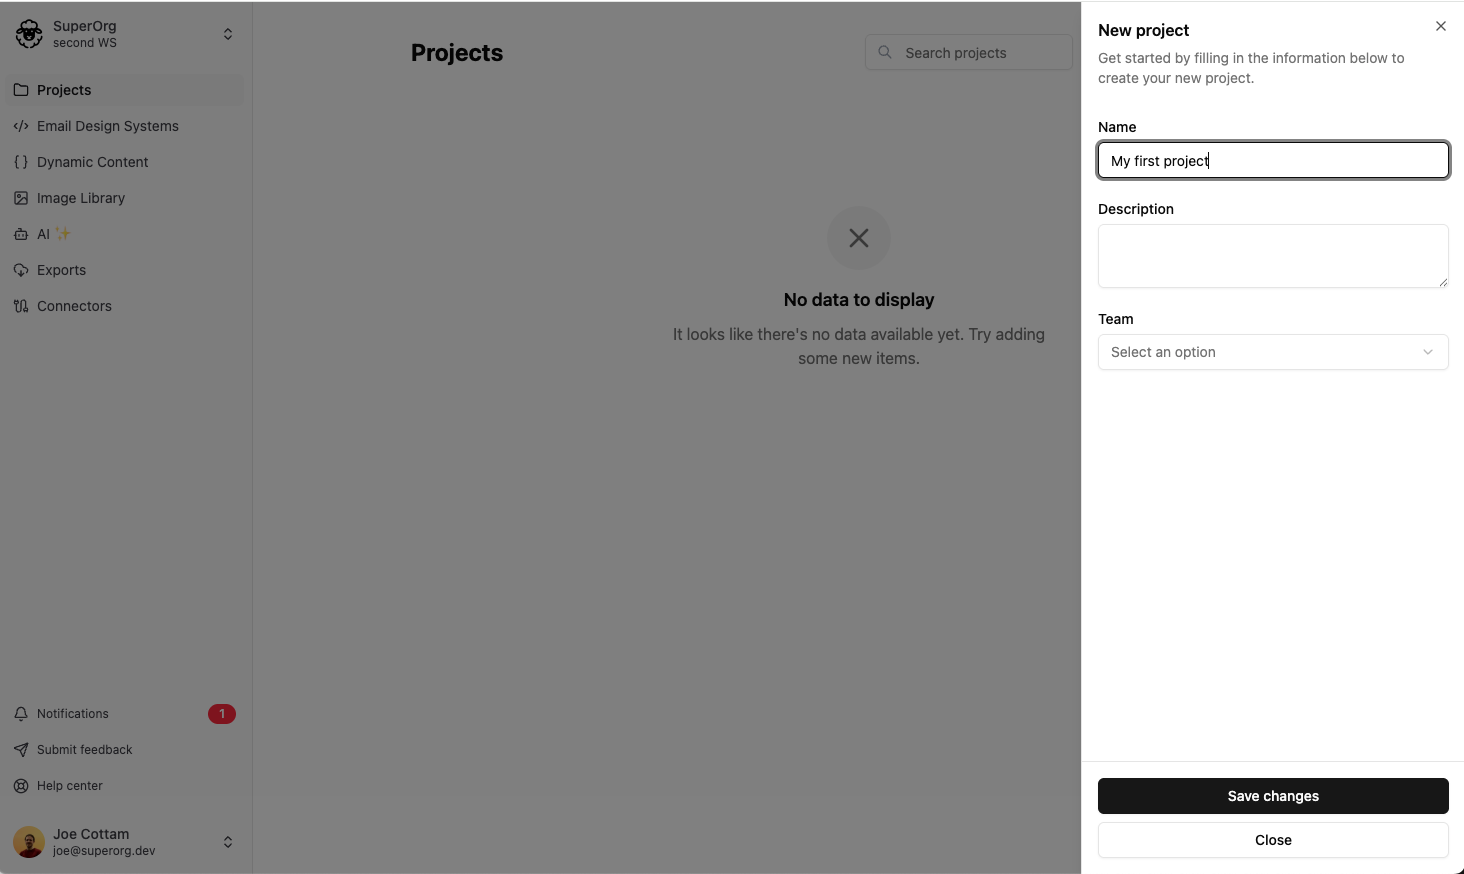
Here you can enter a name and description for your project, and set the team that owns the project.
Creating an email
Once you have created your project, within your project you will want to create an email.
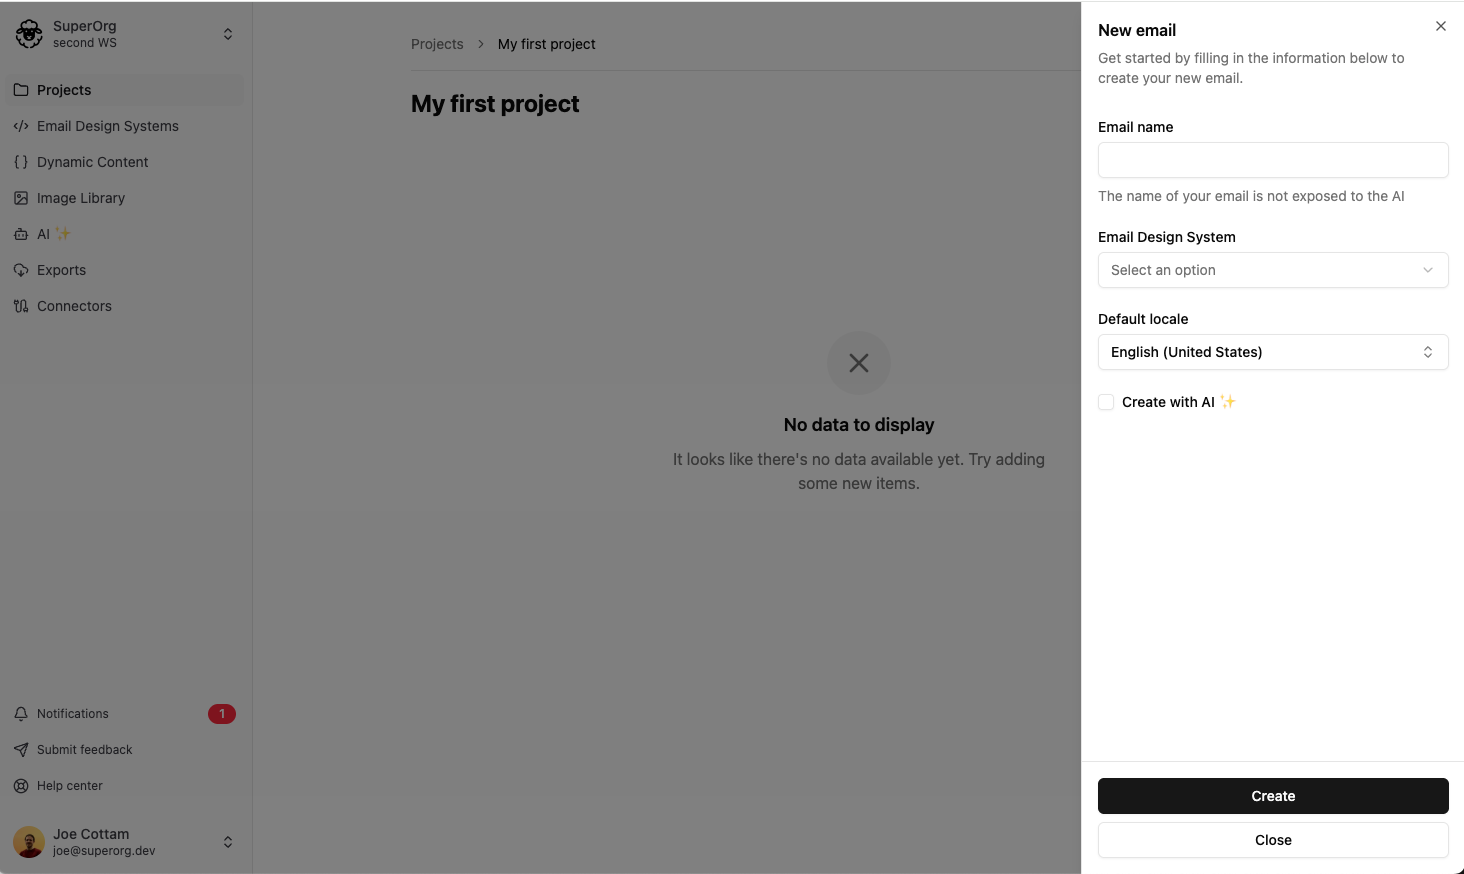
Click on 'New Email'. You will need to enter a name for your email, select the Email Design System (EDS) that you want to use and select the default locale.
The default locale is used as the base locale for AI translations.
For now select the built in EDS, later you can create your own EDS using the Component Builder.
Click 'Create' and you will be taken to the email builder.
Read the next article about Using the Editor to learn how to create your email.